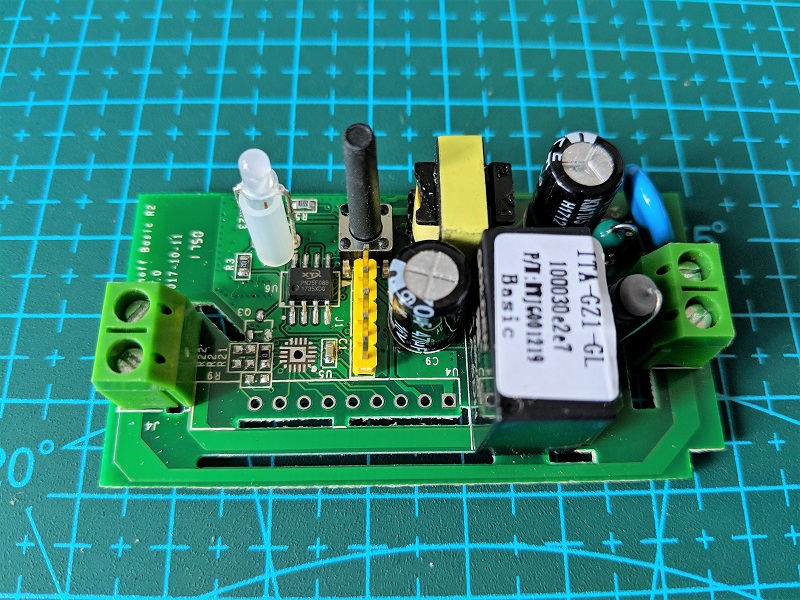
Modding Sonoff Basic
| Parts | Qty | |
|---|---|---|
| Jumper pins | 1 |  |
| 1K Ohm SMD resistor | 1 | 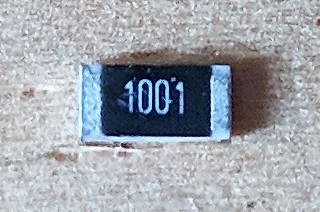 |
Steps:
-
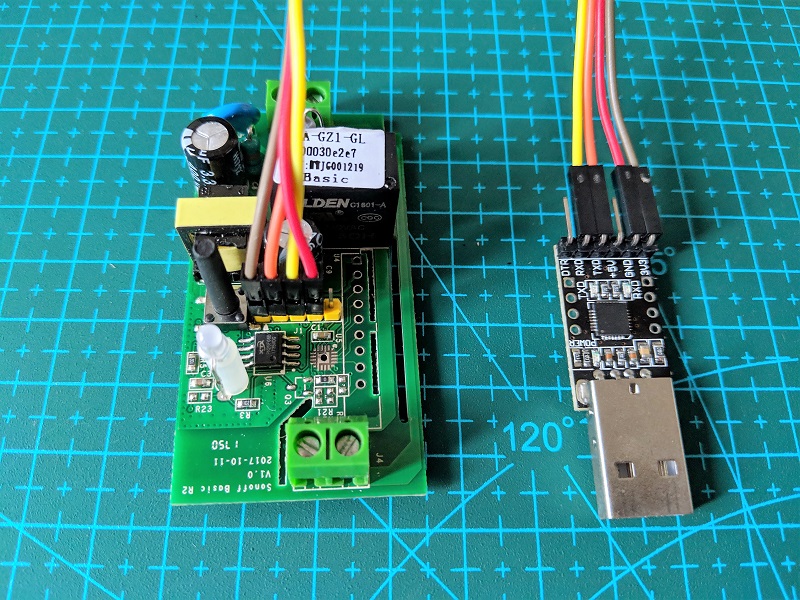
Solder the five pins jumper to the Sonoff board
-
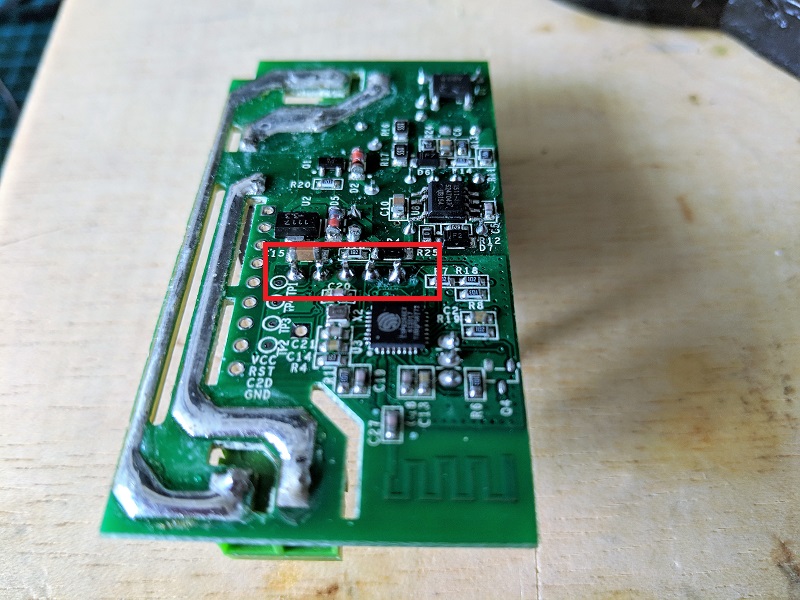
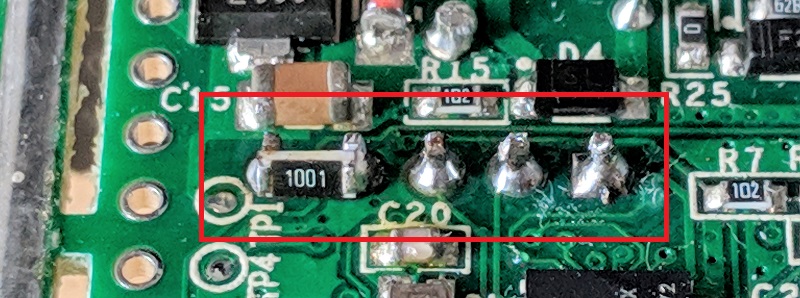
Solder the 1K Ohm resistor to the Ground and GPIO14 pin. This is based on DrZZs suggestion otherwise there will be too much noise or interference when a switch is connected to GPIO14.
Flashing Tasmota
Steps:
-
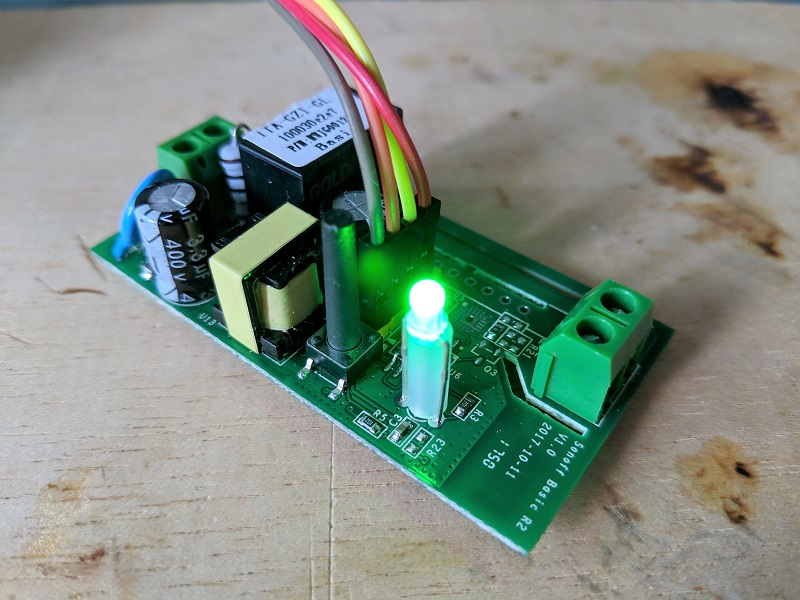
Follow DrZZs updated flashing instruction to flash the latest Tasmota firmware. Remember to set the Sonoff to programming mode by pressing down the button on Sonoff board while plugging in the FTDI USB to Serial board to the USB port.
-
Setup Sonoff-Tasmota WIFI SSID and password entries to connect to home network using Termite. Just type SSID1 your_home_SSID then Password1 your_wifi_password.
-
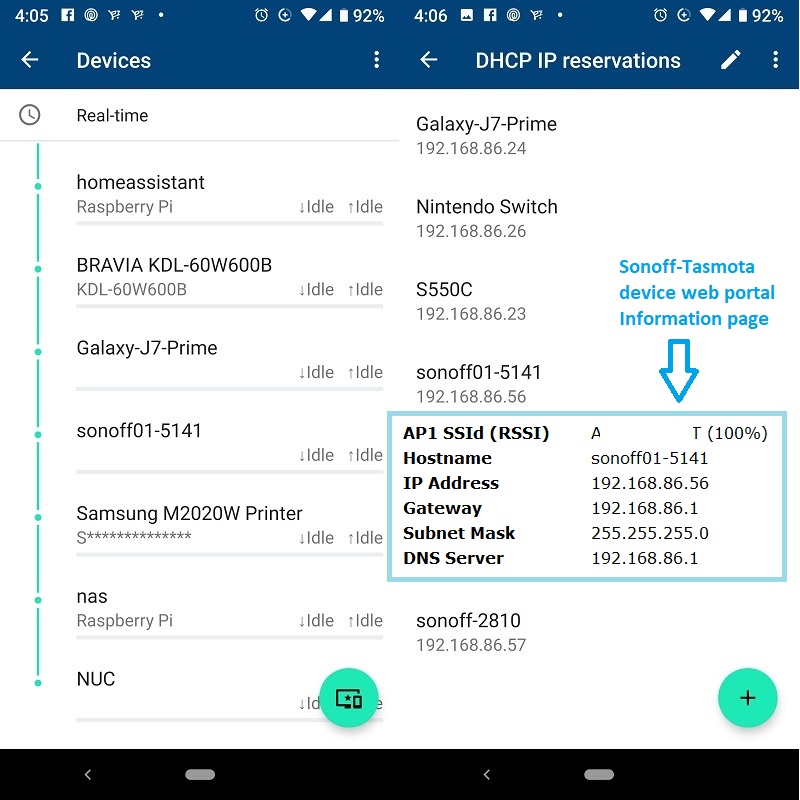
Allocate a fixed IP (personal preference) from home wireless router. Use wireless router DHCP IP reservation function to assign a fixed IP.
-
Use a browser to enter the Sonoff Tasmota web interface with the assigned fixed IP. Or use Termite to setup the Sonoff such as MQTT host, MQTT topic and switch mode. Please refer to Tasmota Wiki on the commands.
Before setup the MQTT connection, it will be better to think or design how to structure the MQTT topics. If there are multiple rooms and devices to control, it might be better to define a hierarchy to identify the devices. For instance, master-room\main-light, guest-room\main-light, shower-room\water-heater, etc. However, if there is only one or two devices, then why bother.